Download the 12 Check Points publication.
1. Plastic properties and temperature tolerance
- ALWAYS CHECK that the chosen plastic material is suitable for the temperature in which the belt is to work and thus will be exposed to (please see the table below).
- Be aware that the temperature will affect the belt strength.
- Be aware of expansion of the plastic material.
| Material | Properties | Working temperature | Coefficient of expansion mm/ m x °C |
|---|---|---|---|
| POM (acetal) | High tensile strength Low elasticity and expansion Low friction Good load capacity Absorbs little water – up to 0.9% volume | Temp. - 40 to + 90 °C | 0.12 |
| PE | Low tensile strength High impact resistance Soft – rarely shatters Good at low temperatures Good material with SS pins for sand, steel shavings, etc. Does not absorb water Big heat expansion | Temp. - 50 to + 80 °C | 0.18 |
| PP | Medium tensile strength Good with chemicals Does NOT stand frost Endures high temperatures Absorbs little water – up to 0.9% volume | Temp. + 1 to + 104 °C (avoid impact at tem peratures below +8) | 0.13 |
| PA6.6 (nylon) | High tensile strength Endures high load Good material in many connections Good stiffness in a wide temperature area Absorbs relatively much water – up to 8.5% volume | Temp. - 40 to +140 °C | 0.11 |
2. Plastic material - identification
Should the link not be marked with the type of material, the most current types of plastic can be identified as follows:
| Fire test | Small after extinction | Water test | |
|---|---|---|---|
| PP | Blue flame, yellow top, swells and drips | Sweet and like burning oil | Floats |
| PE | Blue flame yellow top drops can burn | Stearin | Floats |
| POM | Blue flame, no smoke, drops can burn | Formaldehyde | Sinks |
| PBT | Yellow flame, smoke, drips | Sweet, difficult to define but recognizable | Sinks |
| PA | Blue flame, yellow top, melts & drips | Sharp - burning wool or horn | Sinks |

3. Placing of sprockets
- CHECK that the sprocket is placed evenly on the entire axle – as rule of thumb one sprocket for every 150 mm in order to counteract the sagging of the belt between the sprockets. Two sprockets as minimum.
We recommend fastening the center sprocket if the belt width is more than 250 mm. By doing so, you can control the temperature expansion, as it would be iden tical on both sides of the fastened sprocket.
- fix the center sprocket with uni-chains Retainer Rings. The other sprockets must be able to float on the axle in order to follow the changes in the belt width in case of fluctuation of temperatures.
- Please pay attention when mounting sprockets for the following belt types: Uni S-MPB, uni MPB, uni CPB, uni RTB, uni ECB, uni XLB and uni X-MPB.
IMPORTANT! To be mounted so the ‘hooks’ of the teeth point away from each other. Must pull on hinge – not on the ‘bar’!
4. Sprocket engagement
- CHECK sprocket engagement – if the belt ‘jumps on sprockets’, it can be a sign of lacking sprocket engagement.
- In order to ensure a good sprocket engagement, it is important to have catenary sag. The sag helps tightening the belt and secure that changes in the belt length will be automatically offset.
- Mounting of ‘snub rollers’ improves sprocket engagement and thus increases the power transferred from the sprocket.
- The best transmission of power be tween sprocket and belt and the most Snub roller regular operation is achieved by using sprockets with as many teeth as possible.
- Big sprockets reduce the risk of pulsation (the belt is running irregularly due to the ‘polygon effect’).
- An increase of the speed will have a positive influence in case of pulsation (the higher speed, the less pulsation).
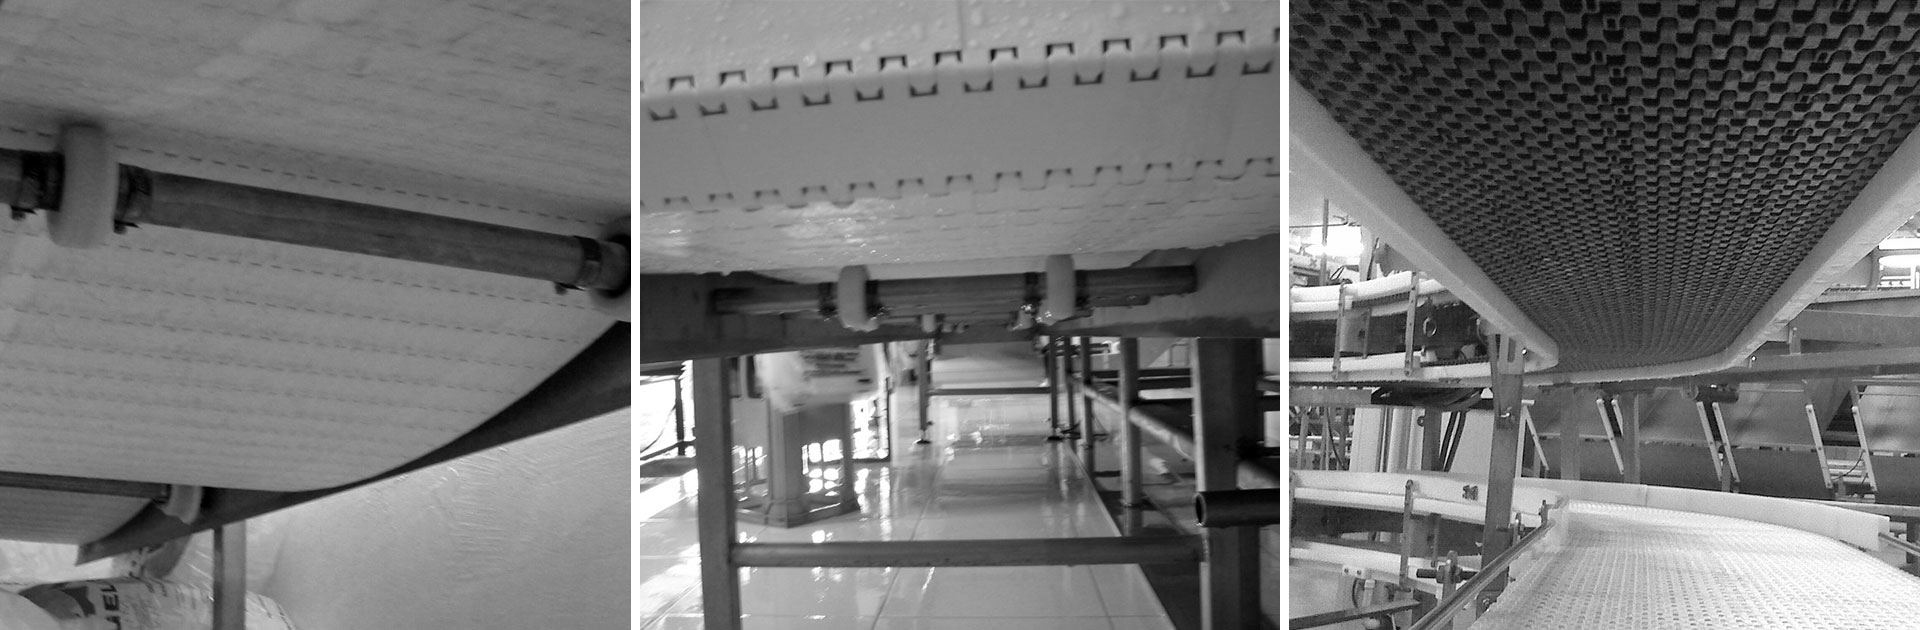
5. Support of drive side (wearstrips)
- CHECK that the free distance between wearstrips on the drive side is maximum 150 mm. Thus it can be avoided that the belt bends down between the wearstrips (less distance in case of heavy items).
Different types of wearstrips:
- Straight – easy and cheap method. Disadvantage: wear is concentrated on the same area.
- Fishbone – wear is spread evenly. Dirt, dust, etc., will be transported from the area.
- Serpentine – wear is spread over the entire belt.
- Parallel overlap – cheap method, good for environments with wide fluctuation of temperatures.
- Fasten only profiles in one end in order to avoid that they bend up in case of temperature rise.
6. Support of return side (wearstrips)
- CHECK that the free distance between wearstrips on the return side is maximum 300 mm.
- It is IMPORTANT! When supporting with return rollers/return shoes, the distance between the rollers/shoes must vary. If the distance is identical, it can cause pulsation.
- NB! In case of heavy belts, longitudinal return profiles should be avoided if possible as it gives big and inappropriate wear marks on the top side of the belt.
- CHECK that the surface on the longitudinal return profiles are not ‘polluted’ by dirt as this also will cause unnecessary wear on the top side of the belt.
7. Profiles check
- that transfers between profiles are smooth so the belt does not run against the profiles. Thus, among other things, damaged side profiles can be avoided.
- that all screws/bolts used for fastening the profiles are countersunk so the belt does not get in contact with the screw heads. If there is contact, the belt modules will show signs of wear.
- that the profiles have space for elongation/contraction in case of change in temperature.
- that the temperature in the profiles is not too high (heat generation due to friction). Pay special attention in case of plastic profiles for side flexing belts.
- that between the profiles and belts there is space enough so the belt can expand in case of a temperature rise, so the belt does not get jammed and bends up.
- that the belt cannot fall out of the profiles. Pay special attention to curves, and to the return section.
A high temperature in a plastic profile will increase the friction and thus the pull force in the belt which can cause uneven operation. If the profile temperature is too high, another profile material, e.g. stainless steel or Nylatron NSM, can be used with advantage.
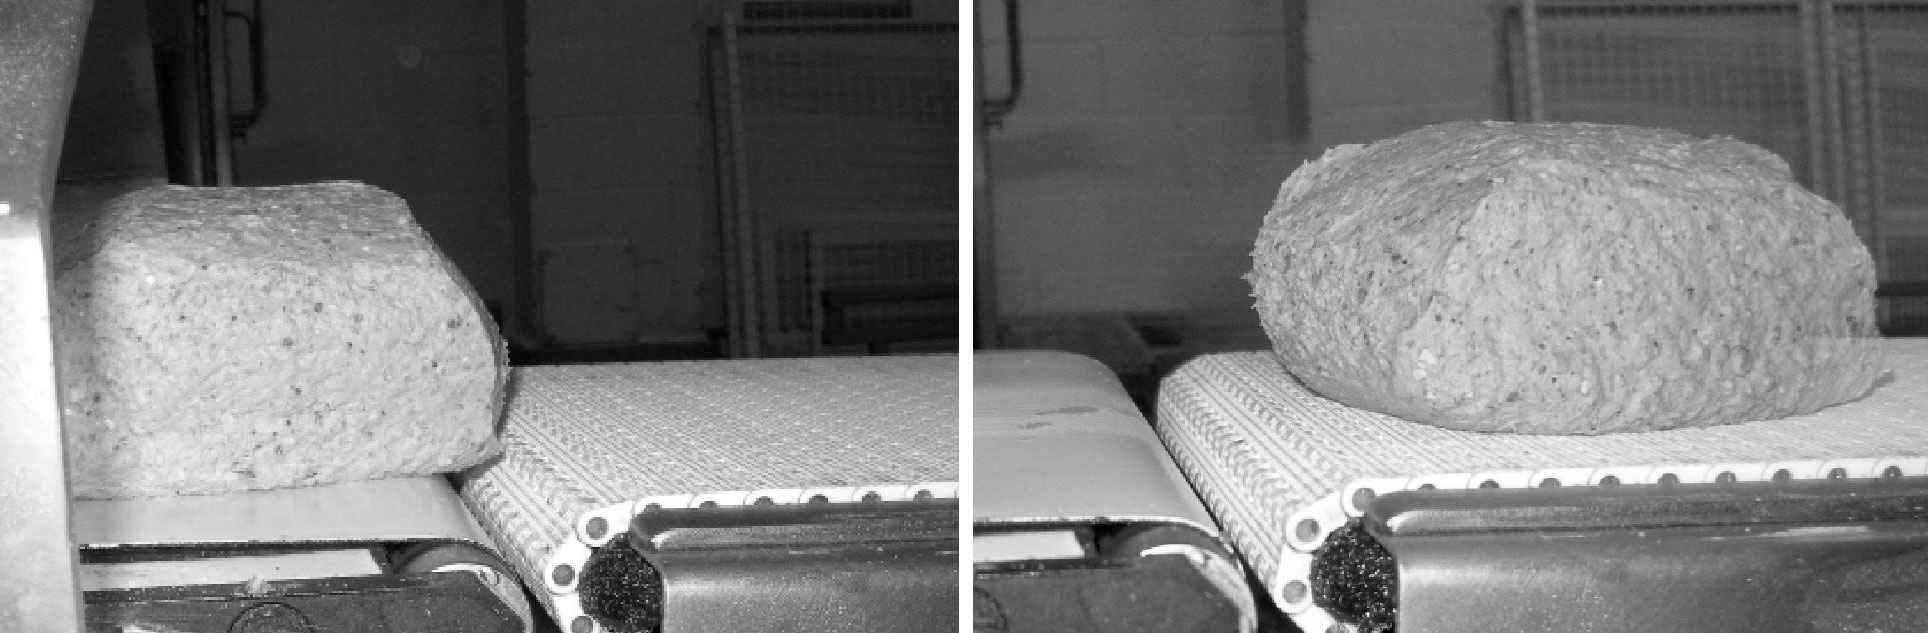
8. Transfers (nosebar/rollers)
- CHECK transfers and nosebars – should non-rotating rollers eventually be exchanged with rotating rollers?
- In case of small transfers, nosebars or rollers (solid/rotating) can be used.
- If solid rollers or nosebars are used, you have to pay attention to the increased load in the belt as well as the temperature rise that will occur between the non-rotating roller/nosebar and the belt. This can cause increased wear and in some cases more noise – especially at high speed.
- In case of high load or high speed, it is recommended to use rollers rotating with the belt.
- CHECK that rotating rollers are not stopped by dirt. Should this happen, the rollers must be cleaned immediately, so they rotate with the belt again.
9. Belt conveyors with curves
- CHECK that there is enough space between the profiles and the belt. The belt is not to be kept in press.
Sprockets ‘jumping’
- CHECK that all sprockets engage the right place – especially sprockets at outer radius tend to jump.
- CHECK that the straight part from the end of the last curve and to the center of the feed shaft is minimum 2 x belt width (uni FLEX ONE: 1 x belt width).
Belt is running unevenly (pulsates)
- CHECK that the straight part from the return end and to the start of the first curve is minimum 1.5 x belt width (uni FLEX ONE: 1 x belt width).
- CHECK if the inner links in the curve vibrates. If this is the case, the reason could be that the curve is not made on minimum radius. The vibrations can be reduced by using lubrication on the inner radius.
- If the belt is hanging freely on the entire or some of the return part, the uneven operation can be caused by the belt vibrating in these parts (see page 9). 4. In case of high speed and/or load, materials with high P/V value (pressure/velocity) can be necessary for the profiles in the curves, e.g. Nylatron NSM.
Please pay attention to the fact that tabs are for hold down – not for supporting the belt sideways.
10. Incline conveyors
- CHECK that the belt does not bend upwards/downwards and thus is pulled out of the profiles (can typically occur at a belt width of more than 800 mm).
Can be corrected by:
- stiffening of the belt with steel pins every x pitch.
- center indent so the belt is held down/supported with a roller.
- CHECK that there is not unusually much wear on the sides of the belt.
Can be corrected by:
- mounting of rollers for hold down in both sides, less friction, less wear.
- REMEMBER when ordering new belts to draw attention to the fact that it is for a swan neck or a Z-conveyor.
11. Tensioning
- CHECK the tensioning unit if you have problems with the belt breaking.
- Beware of mechanical tensioning, e.g. a screw. The risk that the tensioning will be very high is too big.
- IMPORTANT – if a chain/belt has been broken due to overload, make sure that other links in the chain/belt do not have permanent deformation – thus minimizing the strength. Are such links not replaced, a new breakdown could occur.
12 . Cleaning
- Clean with water temperature of 52-54°C.
- ALWAYS CHECK that the chosen detergent is suitable for use on the plastic material of which the modular belt is made.
WRONG use of detergents can cause:
- delamination of the plastic material
- increased wear
- shorter lifetime
WARNING! If the water temperature and/or the ‘foam time’ is increased, the used detergent will be more ‘aggressive’ and thus the belt is negatively affected as described above.
- IMPORTANT, after cleaning the belt must ’cool down’ to operating temperature before tensioning if applicable.